Objectives
Import and run a new starter project. Extend this project to include multiple 'views'. Explore the handlebars templating library.
Template 1
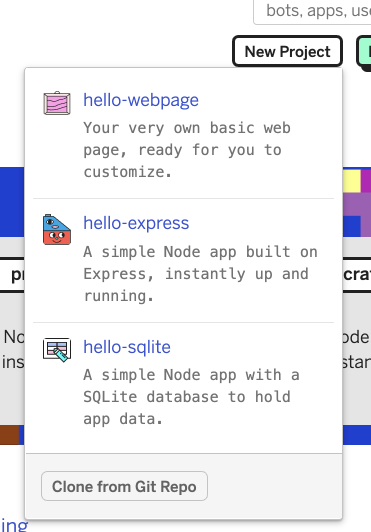
Create a new project in Glitch - instead of selecting a project template, press the 'Clone from Git Repo' button:
In the subsequent dialog, enter this repo url:
https://github.com/wit-hdip-comp-sci-2019/glitch-template-1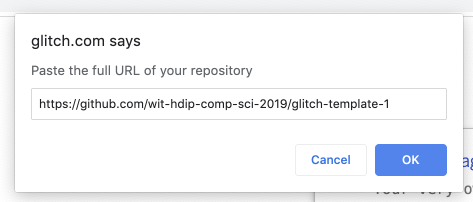
Press ok to import the project.
Occasionally, the import process will stall, and the above perspective will not appear correctly. If this happens, the simplest option is to:
- Delete the current (partially imported project)
- Select 'Back to Glitch':
And then proceed to clone from github again as above. The anomaly that caused the stall will usually not occur twice in a row.
Now, select Tools->Logs (a button along the end of the screen), and turn on logs:
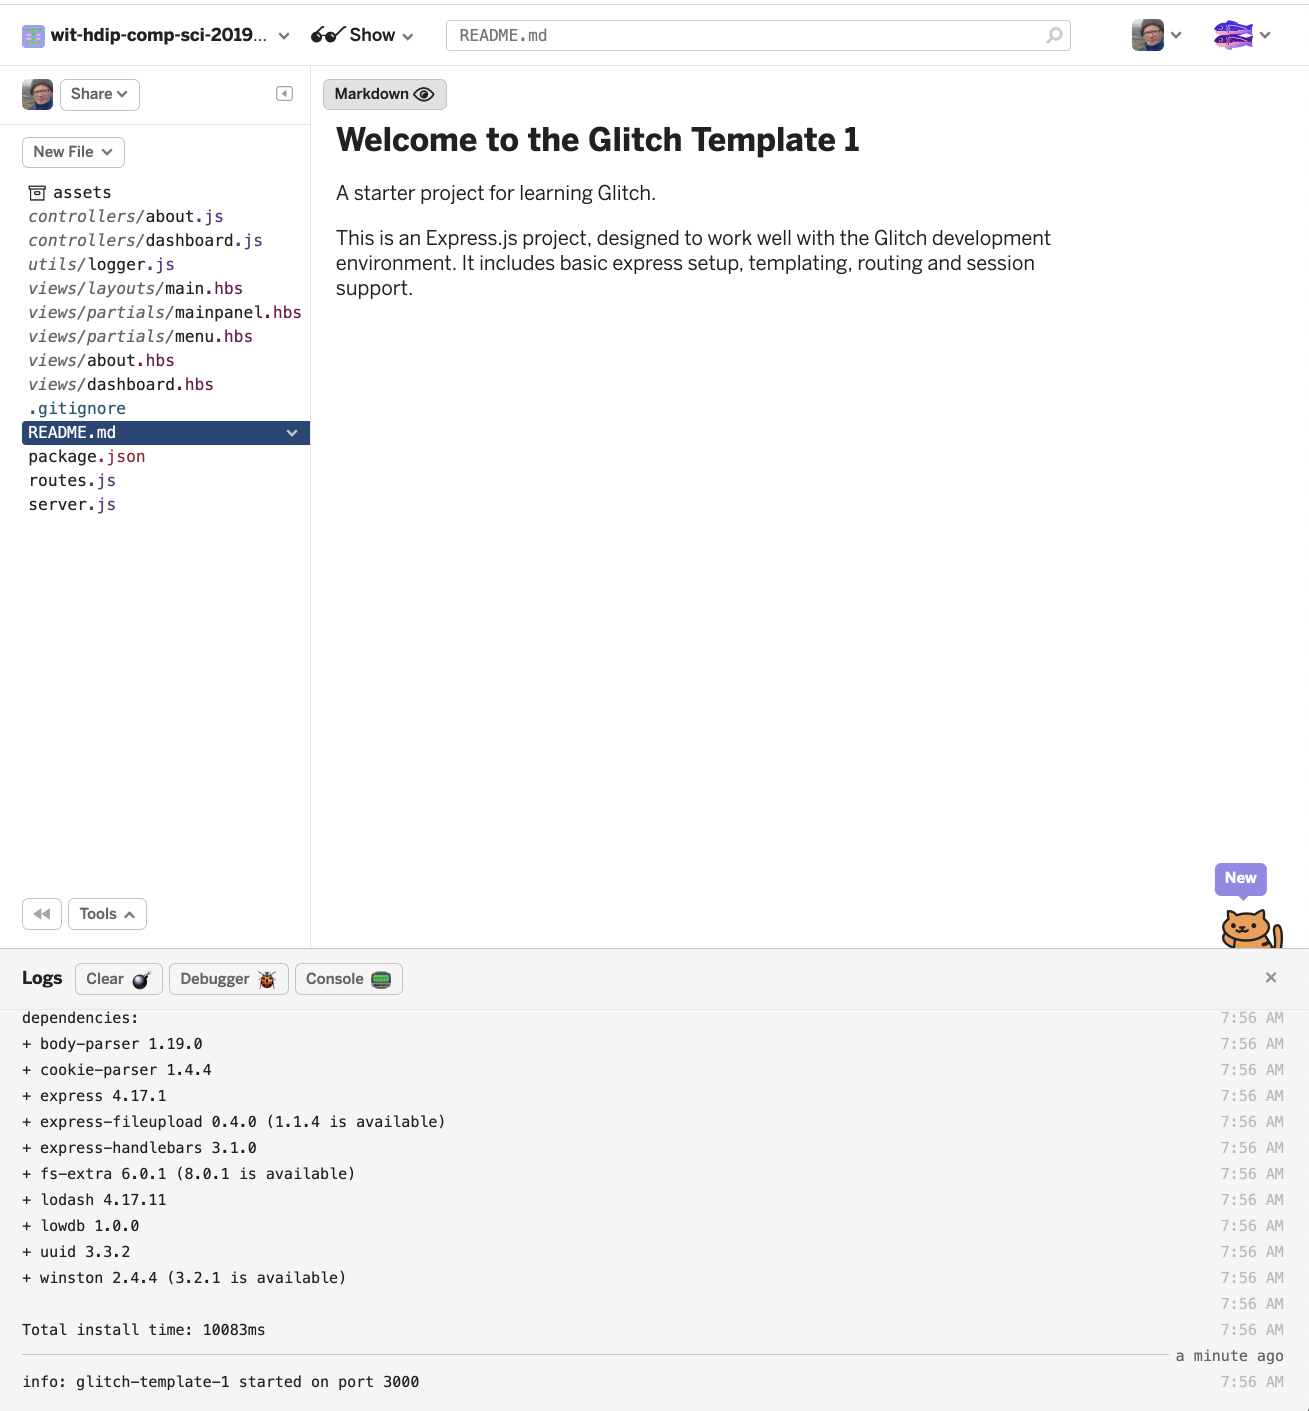
Now press the 'Show' button - which should reveal the application running:

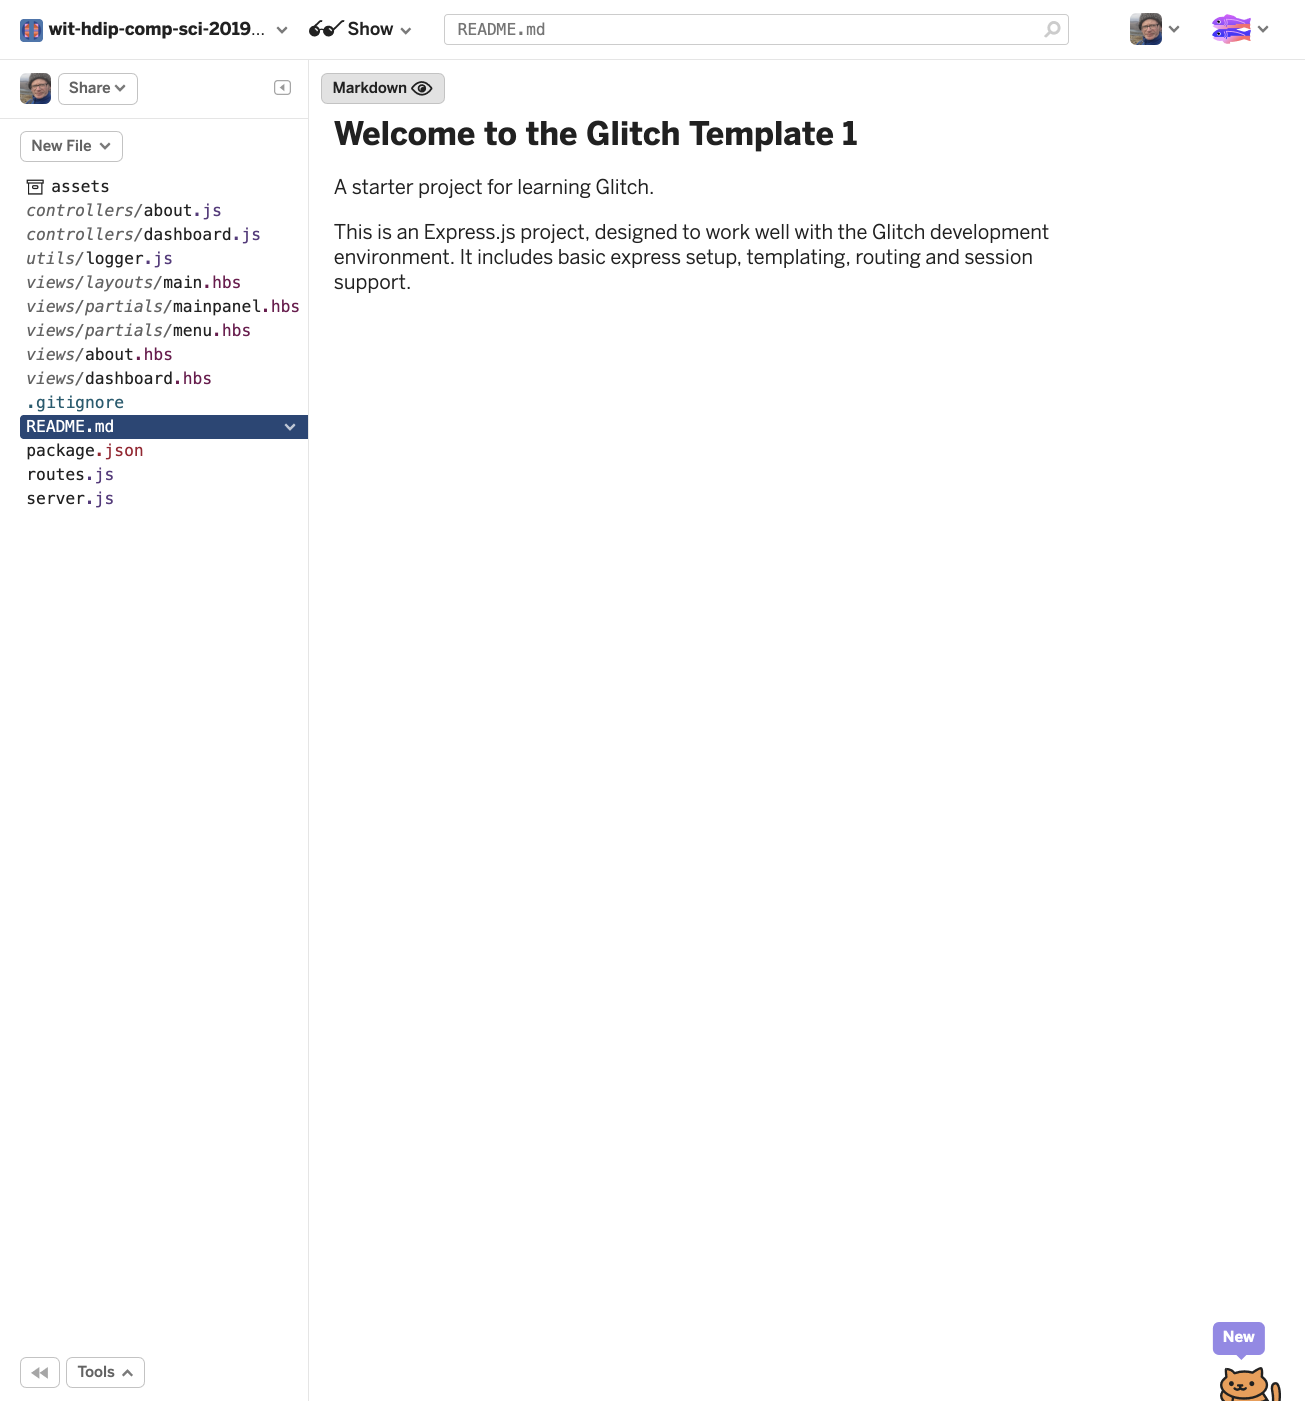
Explore the (small) number of views.
Now examine all of the sources files. There will be errors reported in 2 files:
- views/about.hbs
- views/dashboard.hbs
Ignore these particular errors for the moment. They are related to an over zealous code formatter, which we haven't figured out how to disable yet.
Playlist
We are going to evolve this project into a simple playlist appication, enabling a user to create a playlist of songs. In this step, we will layout a static version.
First, we can make some simple changes to re brand the app as Playlist 1 instead of Template 1
First replace the existing corresponding lines of code with each of the following in the views:
views/partials/menu.hbs
...
  <header class="ui header item"> Playlist 1 </header>
...
views/about.hbs
...
  <h3>
    Playlist 1
  </h3>
  <p>
    A Little Playlist Maker - Version 1
  </p>
...
Now the controllers - adjust the viewData objects as shown:
controllers/about.js
...
    const viewData = {
      title: 'About Playlist 1'
    };
...
controllers/dashboard.js
...
    const viewData = {
      title: 'Playlist 1 Dashboard'
    };
...
Make sure the app is still running, but with the new branding. If there are errors, turn the logs and you may be able to see the source of the problem - which will usually be some small error in the javascript sources.
Static Playlist
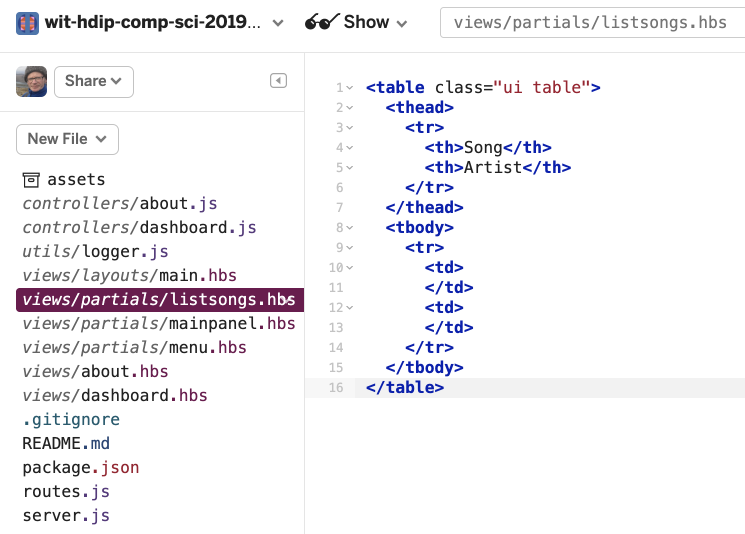
In this step we will start to display the playlist itself. First, create a new partial called listsongs.hbs:
views/partials/listsongs.hbs
<table class="ui table">
  <thead>
    <tr>
      <th>Song</th>
      <th>Artist</th>
    </tr>
  </thead>
  <tbody>
    <tr>
      <td>
      </td>
      <td>
      </td>
    </tr>
  </tbody>
</table>
Make sure you include the folder name in the full file name when creating this file:
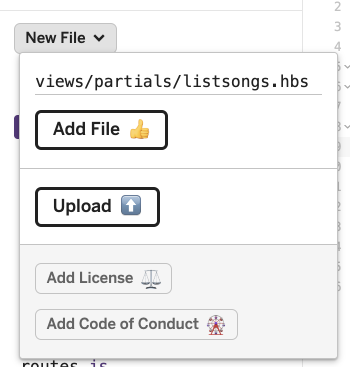
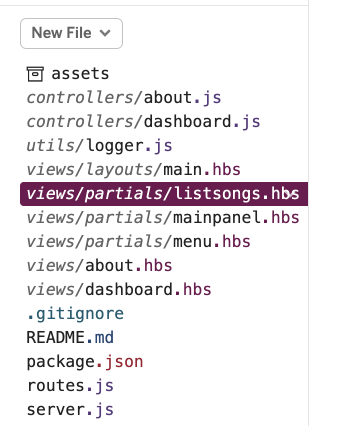
Then press 'Add File'. The file can be edited now - paste the listsongs.hbs template source in now.
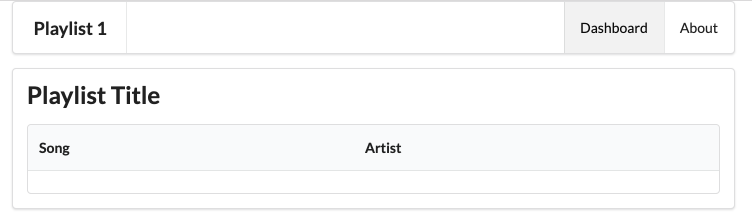
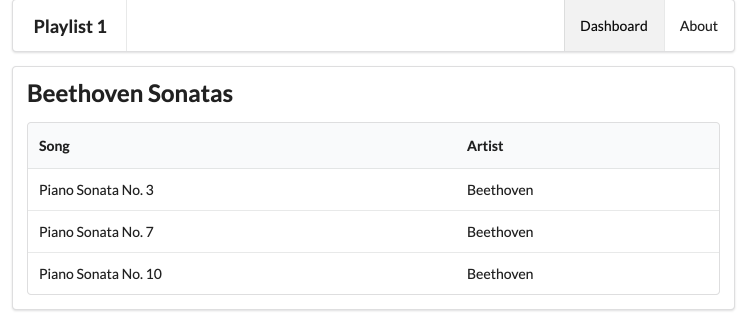
Replace the contents of dashboard.hbs with the following:
views/dashboard.hbs
{{> menu id="dashboard"}}

<section class="ui segment">
  <h2 class="ui header">
    Playlist Title
  </h2>
  {{> listsongs}}
</section>
Make sure the app runs successfully - the dashboard should look like this:
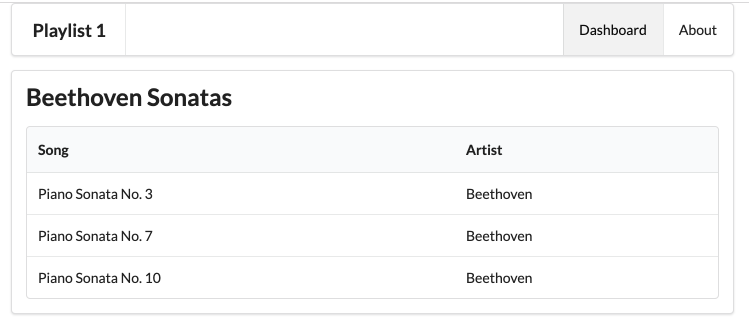
To test out the UX, we might include some actual songs (replace the tbody with the following):
views/partials/listsongs.hbs
<tbody>
  <tr>
    <td>
      Piano Sonata No. 3
    </td>
    <td>
      Beethoven
    </td>
  </tr>
  <tr>
    <td>
      Piano Sonata No. 7
    </td>
    <td>
      Beethoven
    </td>
  </tr>
  <tr>
    <td>
      Piano Sonata No. 10
    </td>
    <td>
      Beethoven
    </td>
  </tr>
</tbody>
... and also give the playlist a title:
views/dashboard.hbs
....
  <h2 class="ui header">
    Beethoven Sonatas
  </h2>
...
The dashboard should look like this:
Exercise the UX fully again. Keep an eye on the logs
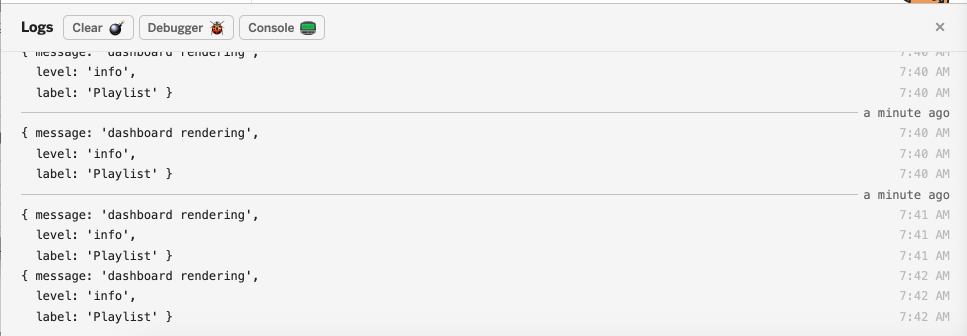
Locate where in the controllers these messages are being generated:
...
    logger.info('start rendering');
...
These logging messages are a useful technique for figuring out what might be going wrong with an app. There are three variants of the logging statement: info, error and debug. Experiment now with some of these, and exercise the app to make sure the log messages appear.
...
    logger.error('some error has occurred');
...
...
logger.debug('some step has occurred...');
...Error and debug messages may appear in red. You might need to open the source and run views of the app in side by side windows to get a clearer view of the logs.
Dynamic Playlist
The app as we have it now could have been completely built as a static web site. However, the framework and tools we have used in this version enable us to evolve this static site into an interactive web app.
The first step is to eliminate some of the static content from the listsongs partial. In listsongs.hbs replace the table with the following):
views/partials/listsongs.hbs
<table class="ui table">
  <thead>
    <tr>
      <th>Song</th>
      <th>Artist</th>
    </tr>
  </thead>
  <tbody>
    {{#each playlist.songs}}
      <tr>
        <td>
          {{title}}
        </td>
        <td>
          {{artist}}
        </td>
      </tr>
    {{/each}}
  </tbody>
</table>
In the above, we are iterating over an array of songs inside a playlist object:
{{#each playlist.songs}}
  <tr>
    <td>
      {{title}}
    </td>
    <td>
      {{artist}}
    </td>
  </tr>
{{/each}}
This playlist object must be passed to the view for this to work.
In the dashboard.js controller, we can define a playlist object in Javascript (place this definition prior to the dashboard object definition):
controllers/dashboard.js
...
const sonatas = {
  title: 'Sonatas',
  songs: [
    {
      title: 'Piano Sonata No. 3',
      artist: 'Beethoven',
    },
    {
      title: 'Piano Sonata No. 7',
      artist: 'Beethoven',
    },
    {
      title: 'Piano Sonata No. 10',
      artist: 'Beethoven',
    },
  ],
};

...
Examine the above structure carefully. This is a javascript object literal. It consists of :
- a title field containing the string
Sonatas - an array called
songs, which contains 3 objects, each of which has:- title
- artist
The index method in dashboard.js file can now be modified to pass this list to the view:
controllers/dashboard.js
  index(request, response) {
    logger.info("dashboard rendering");
     const viewData = {
       title: 'Playlist 1 Dashboard',
       playlist: sonatas
    };
    response.render("dashboard", viewData);
  }
Make sure the playlist is displayed, showing the contents of the sonatas array:
This is the complete dashboard module at this stage:
controllers/dashboard.js
"use strict";

const logger = require("../utils/logger");

const sonatas = {
  title: 'Sonatas',
  songs: [
    {
      title: 'Piano Sonata No. 3',
      artist: 'Beethoven',
    },
    {
      title: 'Piano Sonata No. 7',
      artist: 'Beethoven',
    },
    {
      title: 'Piano Sonata No. 10',
      artist: 'Beethoven',
    },
  ],
};

const dashboard = {
  index(request, response) {
    logger.info("dashboard rendering");
     const viewData = {
       title: 'Playlist 1 Dashboard',
       playlist: sonatas
    };
    response.render("dashboard", viewData);
  }
};

module.exports = dashboard;
Logs
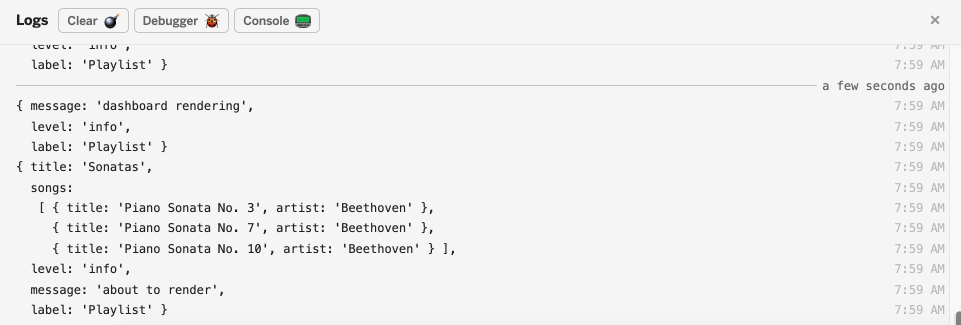
We can take advantage of the logger to display the playlist before we render it:
index(request, response) {
  logger.info('dashboard rendering');
  const viewData = {
    title: 'Playlist Dashboard',
    playlist: sonatas,
  };
  logger.info('about to render', sonatas);
  response.render('dashboard', viewData);
},
You should see something like this in the logs:
playlist-store
We would like to manage the playlists separately from the controller, so that we can eventually introduce multiple playlists.
To prepare for this, create a new javascript module your app. Call it playlist-store.js in a new models folder. In Glitch, you can enter a full path, including a new directory when adding a file:
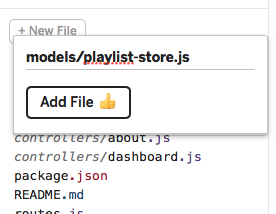
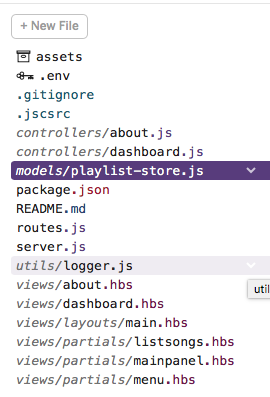
models/playlist-store.js
'use strict';

const logger = require('../utils/logger');

const sonatas = {
  title: 'Beethoven Sonatas',
  songs: [
    {
      title: 'Piano Sonata No. 3',
      artist: 'Beethoven',
    },
    {
      title: 'Piano Sonata No. 7',
      artist: 'Beethoven',
    },
    {
      title: 'Piano Sonata No. 10',
      artist: 'Beethoven',
    },
  ],
};

module.exports = sonatas;
Dashboard can then be simplified:
controllers/dashboard.js
'use strict';

const logger = require('../utils/logger');
const sonatas = require('../models/playlist-store.js');

const dashboard = {
  index(request, response) {
    logger.info('dashboard rendering');
    const viewData = {
      title: 'Playlist Dashboard',
      playlist: sonatas,
    };
    logger.info('about to render', sonatas);
    response.render('dashboard', viewData);
  },
};

module.exports = dashboard;
Notice in the above that we are importing the sonatas from the playlist-store module. Otherwise, the dashboard is unchanged.
Multiple playlists
Here is a new version of playlist-store.js:
models/playlist-store.js
'use strict';

const logger = require('../utils/logger');

const sonatas = {
  title: 'Beethoven Sonatas',
  songs: [
    {
      title: 'Piano Sonata No. 3',
      artist: 'Beethoven',
    },
    {
      title: 'Piano Sonata No. 7',
      artist: 'Beethoven',
    },
    {
      title: 'Piano Sonata No. 10',
      artist: 'Beethoven',
    },
  ],
};

const concertos = {
  title: 'Beethoven Concertos',
  songs: [
    {
      title: 'Piano Concerto No. 0',
      artist: 'Beethoven',
    },
    {
      title: 'Piano Concerto  No. 4',
      artist: 'Beethoven',
    },
    {
      title: 'Piano Concerto  No. 6',
      artist: 'Beethoven',
    },
  ],
};

const playlistCollection = [sonatas, concertos];

module.exports = playlistCollection;
Here we are defining 2 playlists :
- sonatas
- concertos
... and then an array called playlistCollection, which contains these two:
const playlistCollection = [sonatas, concertos];This is the object that is then exported:
module.exports = playlistCollection;In a revised dashboard, we import this object, and pass it to the view:
controllers/dashboard.js
'use strict';

const logger = require('../utils/logger');
const playlistCollection = require('../models/playlist-store.js');

const dashboard = {
  index(request, response) {
    logger.info('dashboard rendering');
    const viewData = {
      title: 'Playlist Dashboard',
      playlists: playlistCollection,
    };
    logger.info('about to render', playlistCollection);
    response.render('dashboard', viewData);
  },
};

module.exports = dashboard;
The dashboard view will have to be rewritten to now display a collection of playlists (we no longer use the listsongs.hbs partial in the dashboard.hbs):
views/dashboard.hbs
{{> menu id="dashboard"}}
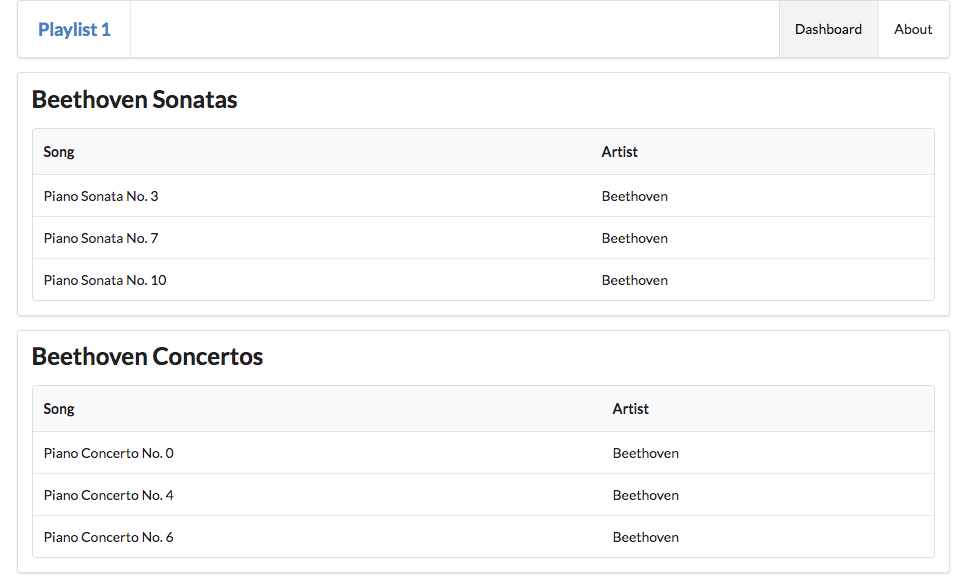
{{#each playlists}}
<section class="ui segment">
<h2 class="ui header">
{{title}}
</h2>
<table class="ui table">
<thead>
<tr>
<th>Song</th>
<th>Artist</th>
</tr>
</thead>
<tbody>
{{#each songs}}
<tr>
<td>
{{title}}
</td>
<td>
{{artist}}
</td>
</tr>
{{/each}}
</tbody>
</table>
</section>
{{/each}}Try this now, making sure you are seeing the two playlists on the dashboard:
Look carefully at views/dashboard.hbs, see if you can relate the template to the playlist data structure being passed to to it. Notice that it is performing a nested loop:
- iterating over the playlist array
...
{{#each playlists}}
  ...
{{/each}}- then iterating over each song in a given playlist.
...
{{#each playlists}}
  ...
  {{#each songs}}
    ...
  {{/each}}
  ..
{{/each}}
Notice that title means something slightly different in each context
- the title of the playlist OR
- the title of a song
Introducing JSON
In javascript, it can sometimes be very convenient to use a notation to represent a data structure, but without any additional javascript constructs. Javascript Object Notation (JSON) is designed for this purpose. Here is a new file to represent our playlists in JSON format, create it in your app now:
models/playlist-store.json
{
  "playlistCollection": [
    {
      "title": "Beethoven Sonatas",
      "songs": [
        {
          "title": "Piano Sonata No. 3",
          "artist": "Beethoven"
        },
        {
          "title": "Piano Sonata No. 7",
          "artist": "Beethoven"
        },
        {
          "title": "Piano Sonata No. 10",
          "artist": "Beethoven"
        }
      ]
    },
    {
      "title": "Beethoven Concertos",
      "songs": [
        {
          "title": "Piano Concerto No. 0",
          "artist": "Beethoven"
        },
        {
          "title": "Piano Concerto No. 4",
          "artist": "Beethoven"
        },
        {
          "title": "Piano Concerto No. 6",
          "artist": "Beethoven"
        }
      ]
    }
  ]
}
We consider this to be a data file rather than a program. Although it looks superficially like javascript, you cannot put control structures, functions or other constructs in it. Also, the format is very strict, so the use of double quotes and separator commas is very precise. Any deviation will generate an error in any program that attempts to read it.
We can revise playlist-store.js to read this file now:
models/playlist-store.js
'use strict';

const playlistCollection = require('./playlist-store.json').playlistCollection;

module.exports = playlistCollection;
The program should behave exactly as before.
Exercises & Archives
If you want to download a complete version of the app as it should be at the end of this lab, then create a new Glith project by cloning this repo:
Exercise 1: Review the JSON file format
Look again at the playlist as represented in:
- Step 6: Javascript Object Literal
- Step 7: JSON
Review the differences carefully.
Exercise 2: Add a new playlist
Extend the JSON file to include an additional playlist - so that three playlists are displayed on the dashboard.
Exercise 3: Introduce IDs
When manipulating data maintained in JSON, or other external format, each object will often require an ID in order to manipulate the information effectively. Introduce an ID for every playlist and every song, now.
For instance for a playlist:
"playlistCollection": [
   {
     "id": "01",
     "title": "Beethoven Sonatas",
     "songs": [
... and for a song:
{
  "id": "03",
  "title": "Piano Sonata No. 3",
  "artist": "Beethoven"
},
Place unique IDs on all your playlists and songs now. You can use any unique numbers (enclosed in double quotes) for the moment.
Exercise 4: New Fields
Extend the playlist to have new entry called duration. Also, extend each song to also have a duration field + a genre field.
Modify the dashboard view to display these new fields.
Exercise 4:
Extend the following views:
- Welcome: Extend the welcome view to contain a more detailed outline of the purpose of the application
- About: Extend the about view to provide contact details (may be fictitious) for the author/company that created the app.
Exercise 5: Run Locally
Download the app and run it on your own workstation. Instructions for doing this are in Lab-1, Step 4.